Easy No-Knead Dutch Oven Bread

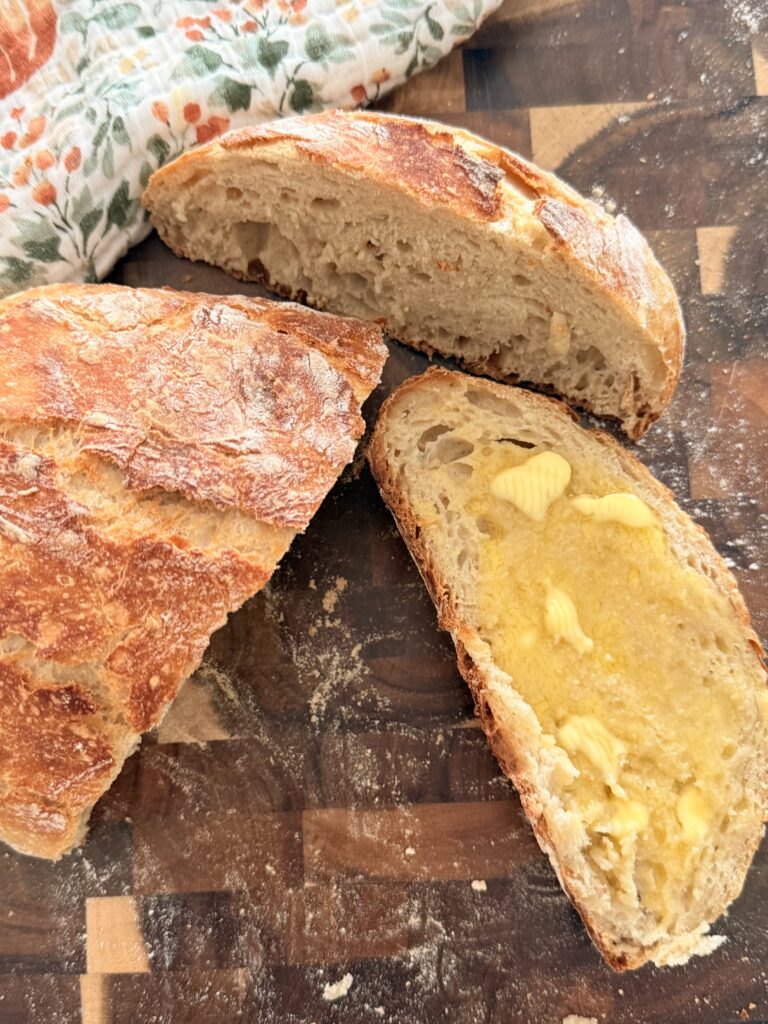
No-knead bread has been around for years. It gives you a crisp, golden crust and a soft, chewy center without dragging out the mixer or turning bread-making into an upper-body workout. Our Easy No-Knead Dutch Oven Bread adds a little honey for flavor and uses instant yeast, which goes straight into the flour without waiting around to prove itself. (Yes, that was a yeast joke.) We spent enough of the ’80s hovering beside the radio, waiting to record one song onto a cassette. We’re not doing that with yeast.
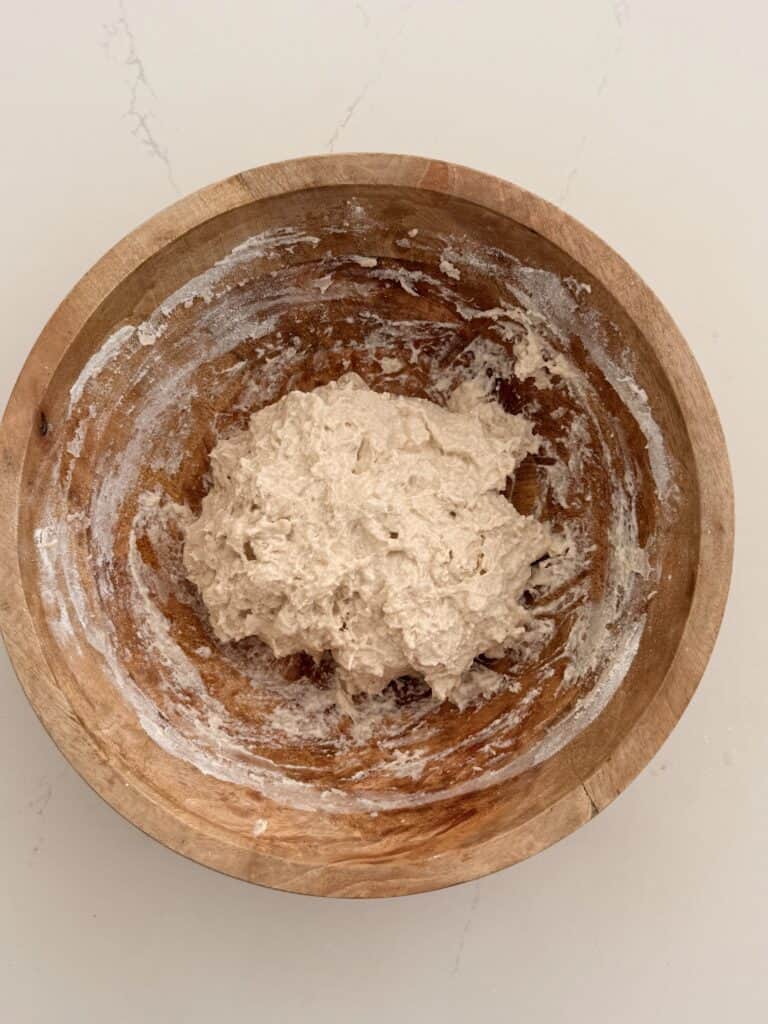
Stir everything together, let the dough rise, and bake it when it’s ready. Depending on your kitchen, that could be later the same day or the following morning. It’s homemade bread without the Little House on the Prairie workload. The dough will be sticky, messy, and look vaguely like a science experiment—but leave it alone. The long rise and hot Dutch oven do the work while you accept compliments as though this required actual skill. (We won’t tell.)
- Makes: 1 loaf
- Prep Time: 10 minutes
- Rise Time: 6–18 hours
- Second Rest: 30 minutes
- Bake Time: 40-45 minutes
- Cooling Time: 1 hour
Ingredients
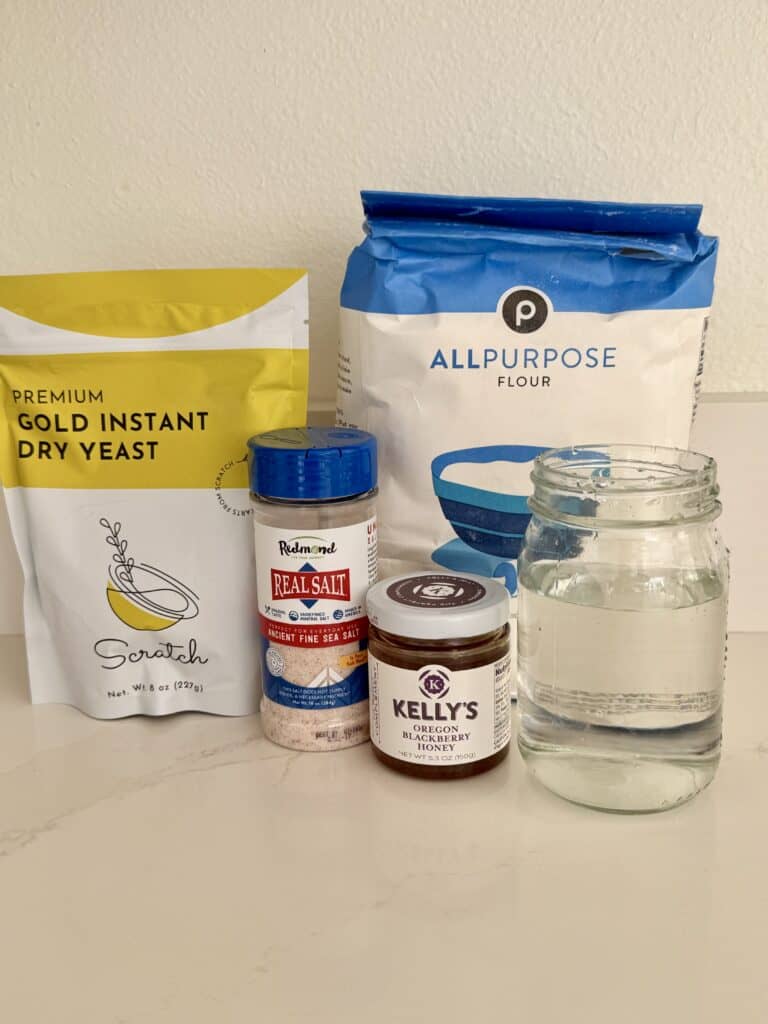
- 3 cups all-purpose flour, plus more for shaping
- 2 teaspoons salt
- ¾ teaspoon instant yeast
- 1 tablespoon honey
- 1¾ cups warm water (105–110°F)
🍞 Because Bread Deserves a Good Dinner
This loaf is very good warm with butter, but we’re not stopping there. Tear off a piece for Zesty Italian Soup, use it to mop up the bowl after Chicken and Sausage Gumbo, or serve it with Linguine and Meatballs. And if there’s any left tomorrow, toast it. Homemade bread has earned the right to avoid the toaster-waffle competition.
Get the complete printable instructions and measurements in the recipe card at the bottom of the post.
Step-by-Step Directions
Mix and Let the Dough Rise
Step 1: In a large mixing bowl, whisk together the flour, salt and instant yeast.
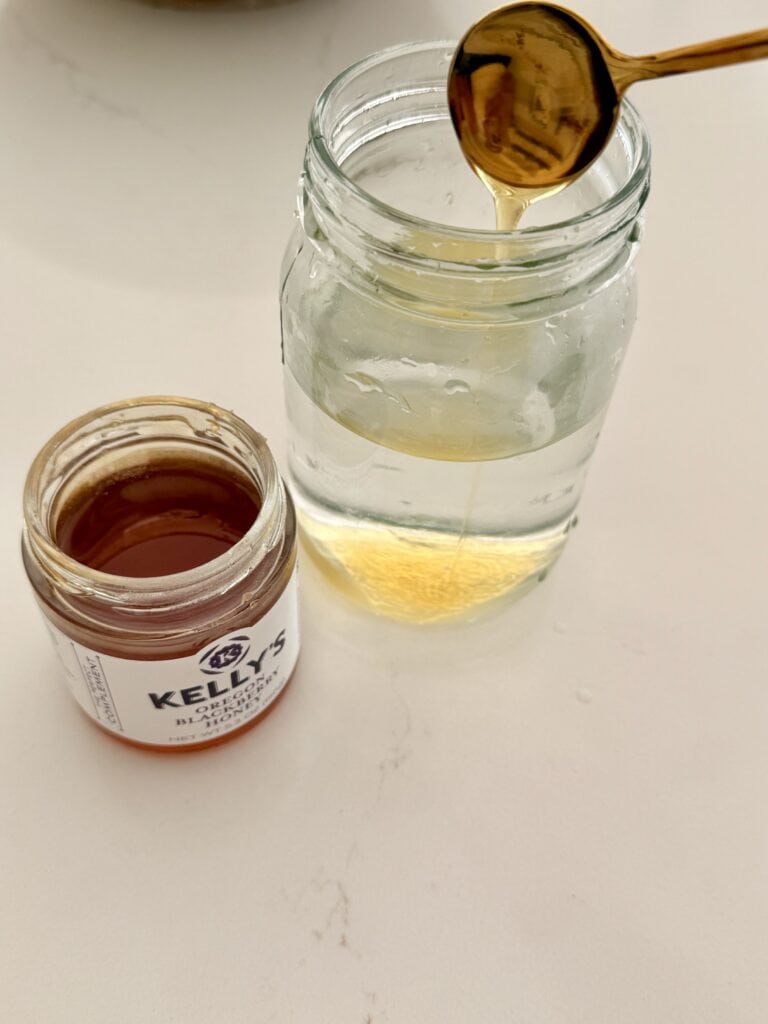
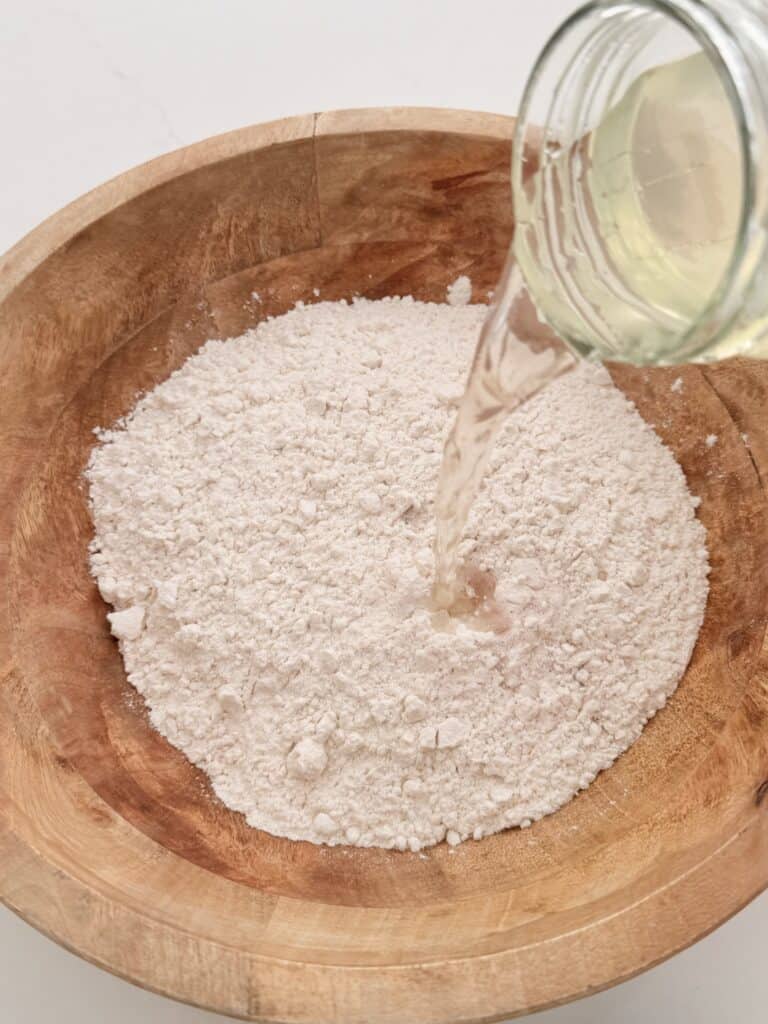
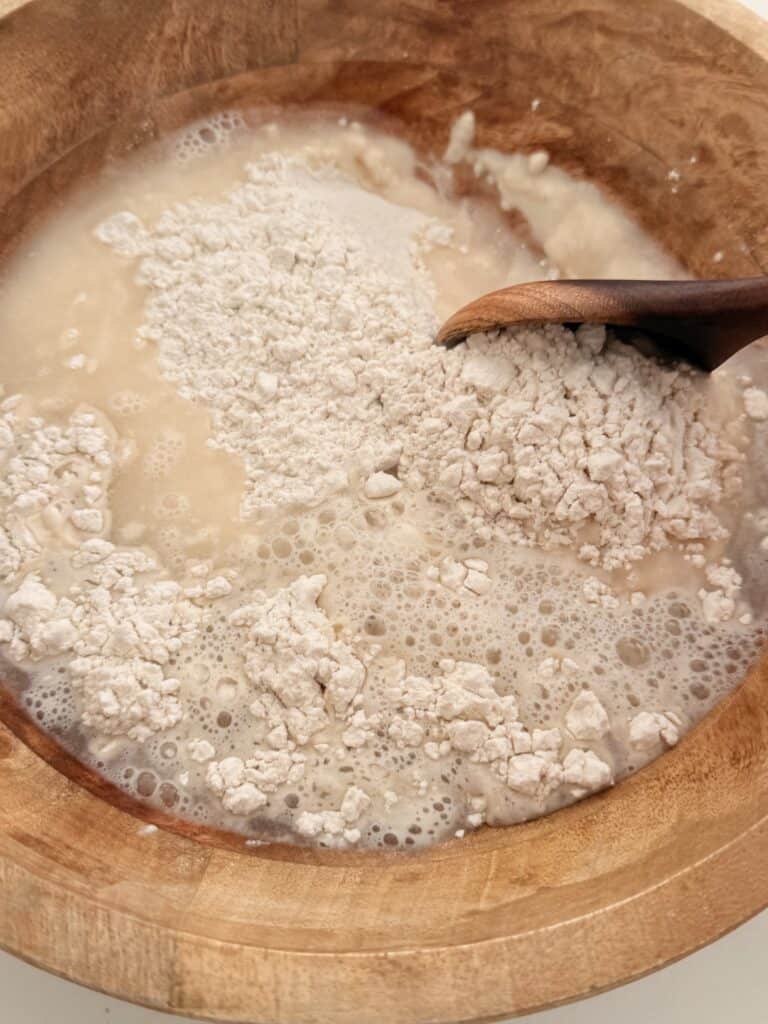
Step 2: Stir the honey into the warm water until dissolved. Pour the mixture into the dry ingredients and stir with a wooden spoon until no dry pockets of flour remain. Your dough will look shaggy, wet, and very sticky. Don’t keep adding flour—it is supposed to look a little messy.
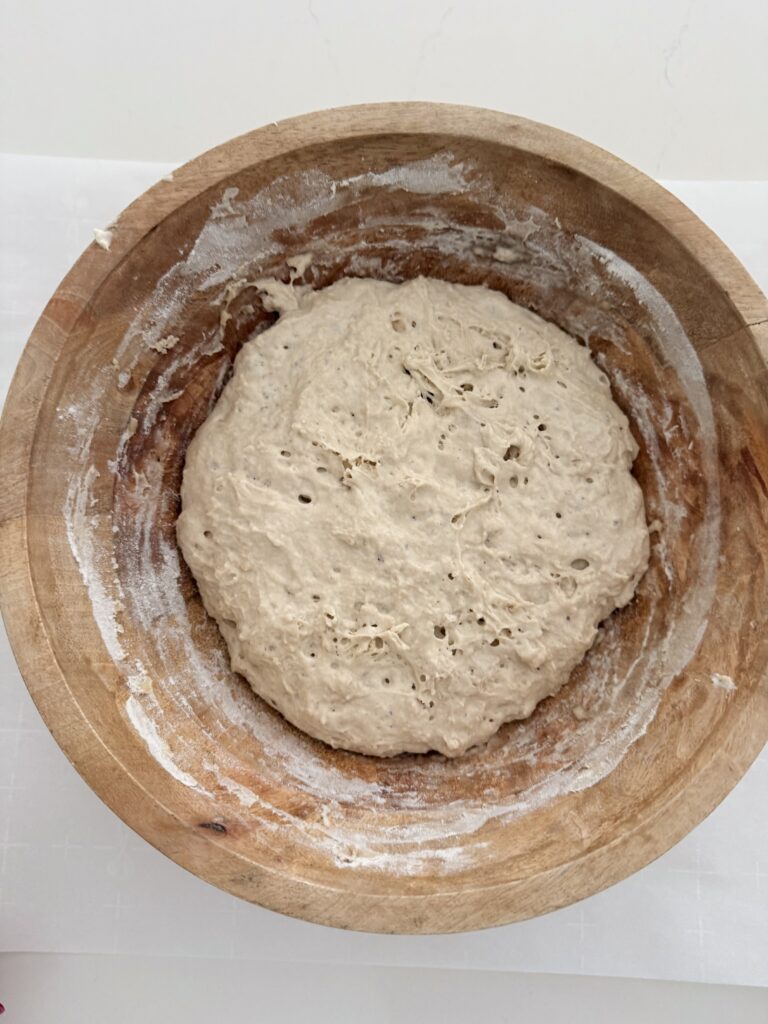
Step 3: Cover the bowl tightly with plastic wrap or cover with a kitchen towel. Let the dough rise at room temperature until it has expanded and the surface looks bubbly and is beginning to flatten.
Rising time will depend on the temperature and humidity in your kitchen:
- A warm, humid kitchen like Florida may require only 6–8 hours. Begin checking the dough after 6 hours.
- Moderately cool kitchens may require approximately 8–12 hours.
- Colder kitchens may extend the rising time to as long as 18 hours.
Watch the dough instead of relying only on the clock. Dough that rises too long may lose its structure and become difficult to shape.
Preheat the Dutch Oven and Shape the Dough
Step 4: Place a covered 6-quart Dutch oven inside the oven and preheat to 450°F. Allow the Dutch oven to heat for 30–45 minutes before baking the bread.
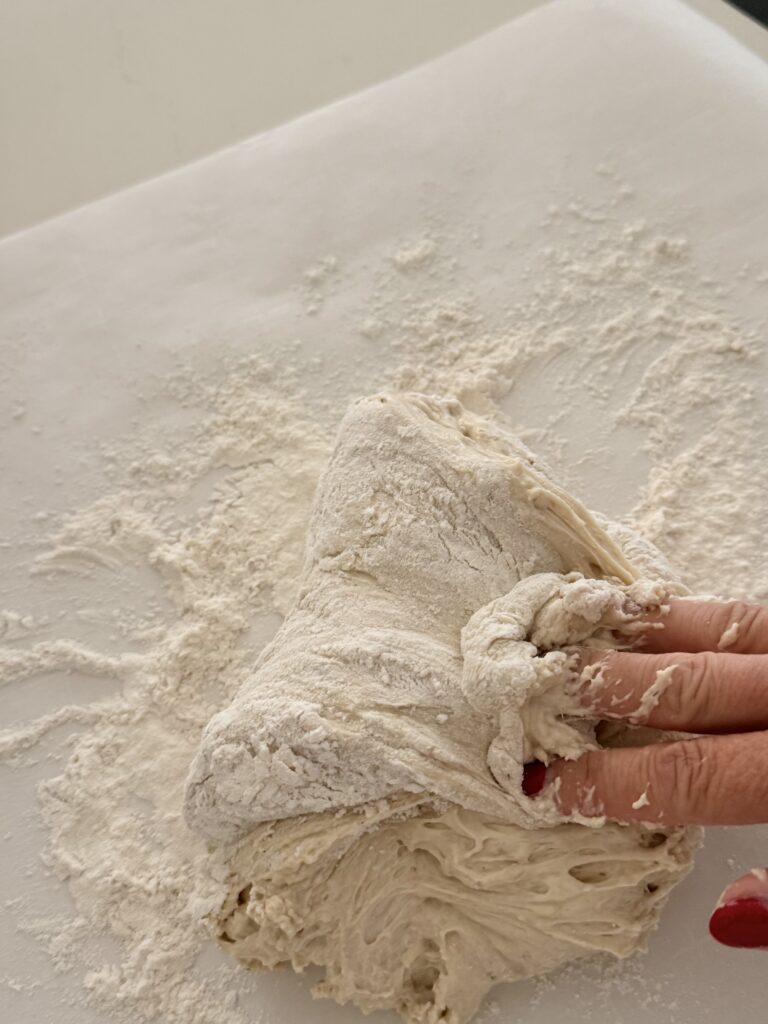
Step 5: Generously flour a clean work surface and your hands. Use a spatula or clean hands to turn the dough onto the floured surface and lightly dust the top with flour. Working quickly, fold two opposite sides toward the center. Turn the dough over and gently shape it into a round loaf by rotating it and pulling the edges underneath.
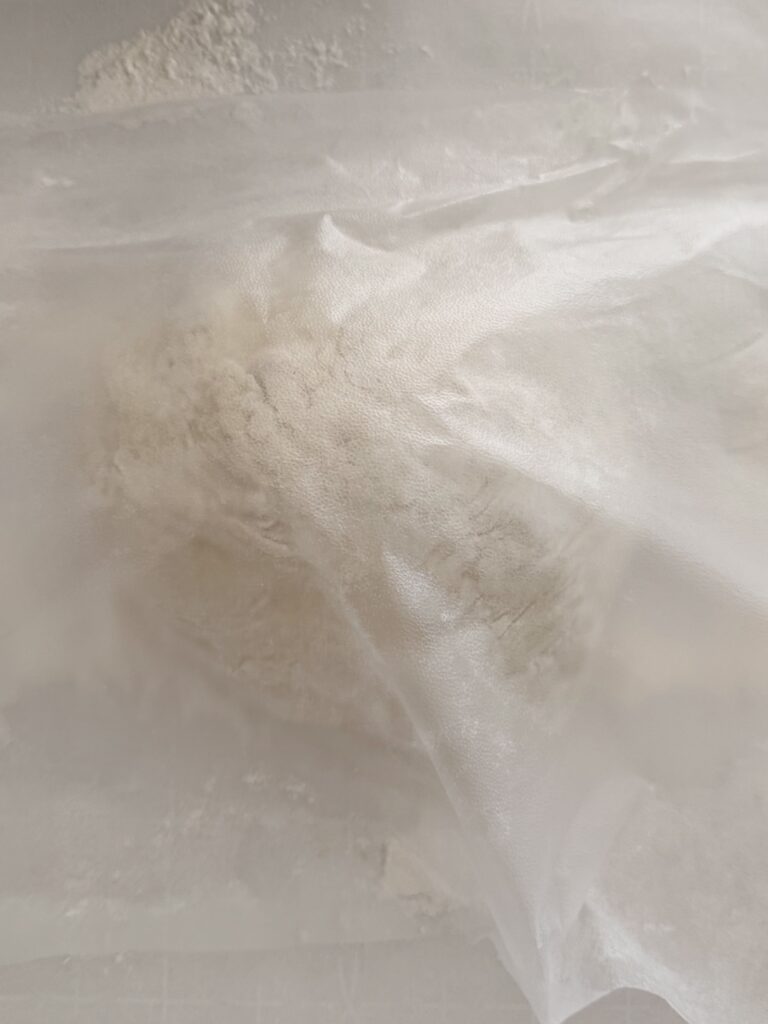
Step 6: Transfer the shaped dough to a lightly floured piece of parchment paper. Cover it loosely with plastic wrap and let it rest for 30 minutes. Trim the parchment paper if needed, leaving enough around the dough to help you lift it safely.
Bake and Cool the Bread
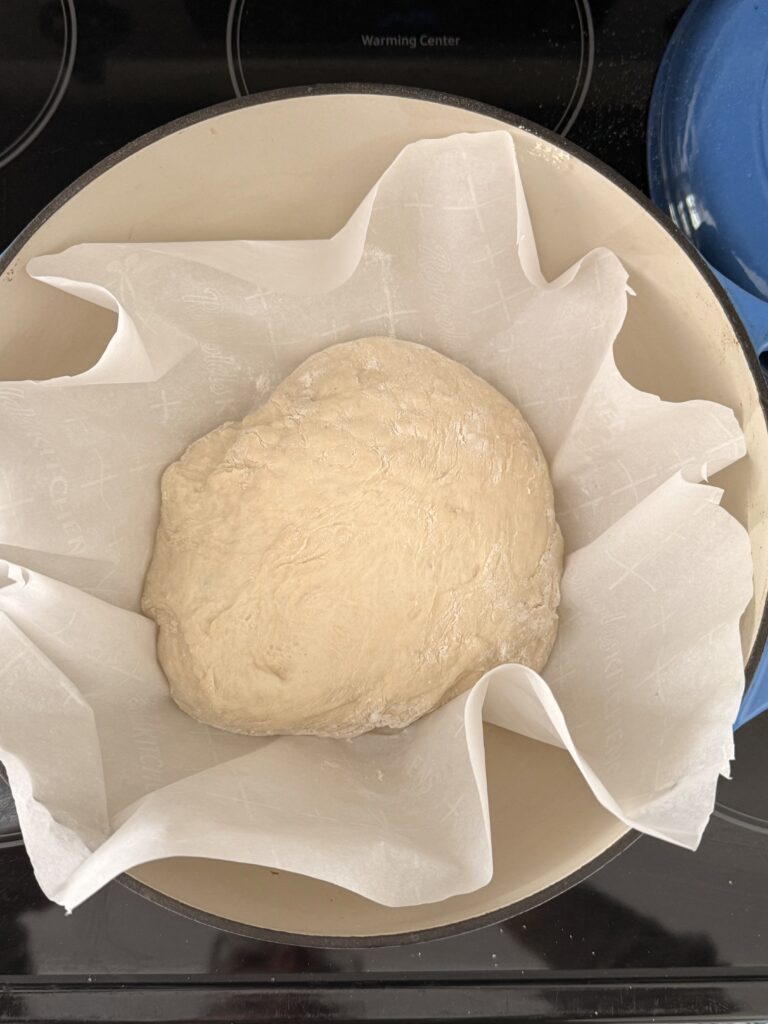
Step 7: Carefully remove the hot Dutch oven and take off the lid. Use the parchment paper to lower the dough into the pot. Replace the lid and return the Dutch oven to the oven.
Step 8: Bake the bread covered for 30 minutes. Carefully remove the lid.
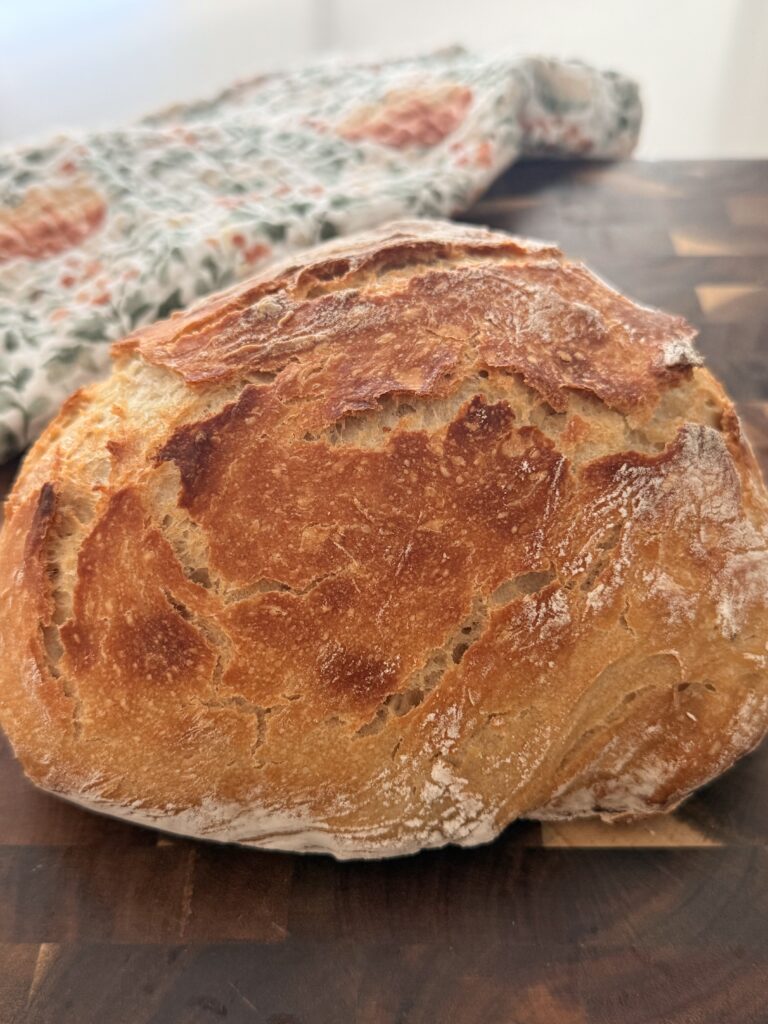
Step 9: Continue baking uncovered for 10–15 minutes, or until the crust is deeply golden. The bread should sound hollow when tapped and register approximately 200–210°F in the center.
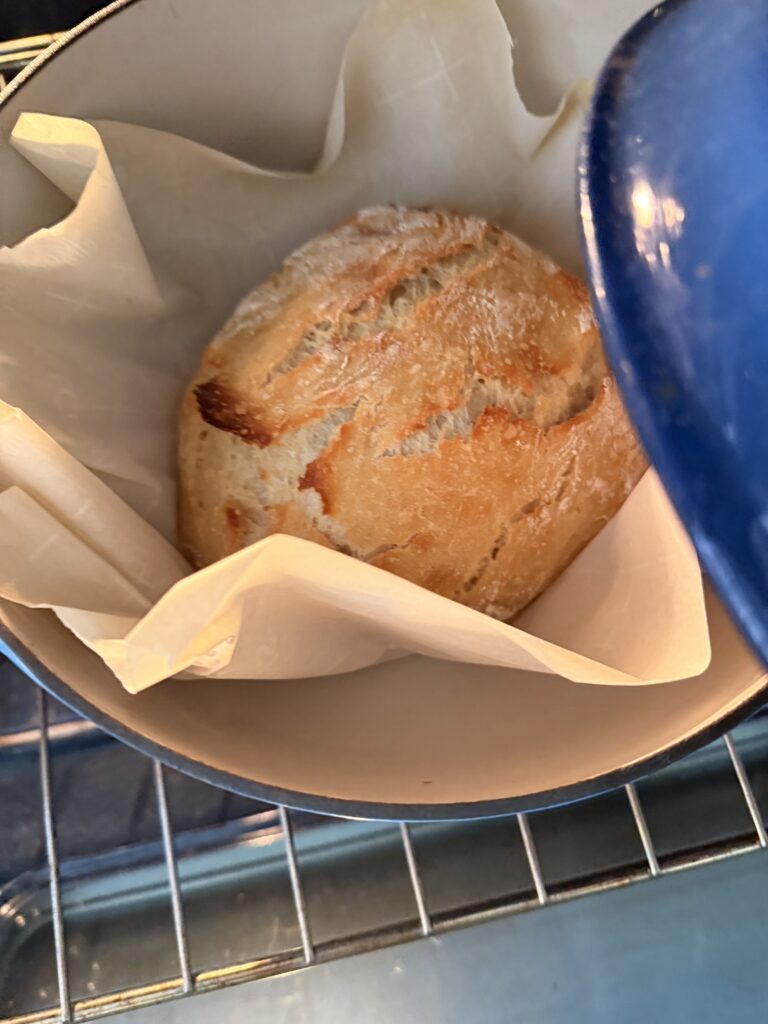
Step 10: Carefully lift the bread out of the Dutch oven and transfer it to a wire rack. Let it cool for at least 1 hour before slicing. The center continues to set as the bread cools, so resist the urge to cut into it immediately—even though your kitchen now smells like a bakery.
🍋 Simply Made Tips
- Don’t add too much flour. This dough is supposed to be wet and sticky. Adding extra flour can make the finished bread heavy and dry.
- Check your water temperature. Water that is too hot can damage the yeast. Aim for approximately 105–110°F.
- Watch the rise, not only the clock. A warmer kitchen may produce a faster rise, while a cooler kitchen may require more time.
- Use oven-safe equipment. Make sure your Dutch oven, lid and handles are rated for use at 450°F.
- Let the bread cool. The inside continues setting after it leaves the oven. Wait at least 1 hour before slicing for the best texture.
🍋 Simply Made Suggestions and Swaps
- Replace the honey with maple syrup or granulated sugar.
- Sprinkle the top with flaky sea salt before baking.
- Add dried herbs, shredded Parmesan or roasted garlic for a savory variation.
- Use instant yeast when you want the easiest mixing option—no blooming required.
🍋 Simply Asked Questions
- Why is my no-knead dough so sticky? A wet, sticky dough is normal for no-knead bread. The extra moisture creates steam, an open texture and a crisp crust during baking.
- Can I let the dough rise overnight? Yes. Mix the dough in the evening and let it rise for 8–18 hours. Bake it the following morning or afternoon.
- Do I need to knead the dough? No. The long resting time allows the gluten structure to develop without traditional kneading.
- Why does the Dutch oven need to be hot? The preheated Dutch oven traps steam released by the dough, helping the bread rise and develop a crisp, golden crust.
- How do I know when the bread is finished? The bread should be deeply golden and sound hollow when tapped. For a more precise check, the center should register approximately 200–210°F.
- How should I store homemade bread? Once completely cool, store the bread in a paper bag, bread box or loosely covered container at room temperature for 2–3 days. For longer storage, slice and freeze it.
🍞 Before You Go…
Put that loaf to work. Pair it with one of our easy soup and stew recipes, or head over to our easy weeknight dinner recipes when you need something to go with it. Leftovers also make excellent toast the next morning—if you have any.
Easy Overnight No-Knead Dutch Oven Bread

Equipment
- dutch oven
Ingredients
- 3 cups all-purpose flour plus more for shaping
- 2 tsp salt
- ¾ tsp instant yeast
- 1 Tbsp honey
- 1¾ cups warm water approximately 105–110°F
Instructions
Mix and Let the Dough Rise
- In a large mixing bowl, whisk together the flour, salt and instant yeast.
- Stir the honey into the warm water until dissolved. Pour the mixture into the dry ingredients and stir with a wooden spoon until no dry pockets of flour remain.
- Your dough will look shaggy, wet and very sticky. Don’t keep adding flour—it is supposed to look a little messy.
- Cover the bowl tightly with plastic wrap or cover with a kitchen towel. Let the dough rise at room temperature until it has expanded and the surface looks bubbly and is beginning to flatten.
Rising time will depend on the temperature and humidity in your kitchen:
- * A warm, humid kitchen like mine in Florida may require only 6–8 hours. * Begin checking the dough after 6 hours. Moderately cool kitchens may require approximately 8–12 hours.* Colder kitchens may extend the rising time to as long as 18 hours.
- Watch the dough instead of relying only on the clock. Dough that rises too long may lose its structure and become difficult to shape.
Preheat the Dutch Oven and Shape the Dough
- Place a covered 6-quart Dutch oven inside the oven and preheat to 450°F. Allow the Dutch oven to heat for 30–45 minutes before baking the bread.
- Generously flour a clean work surface and your hands. Use a a spatula or clean hands to turn the dough onto the floured surface and lightly dust the top with flour. Working quickly, fold two opposite sides toward the center. Turn the dough over and gently shape it into a round loaf by rotating it and pulling the edges underneath.
- Transfer the shaped dough to a lightly floured piece of parchment paper. Cover it loosely with plastic wrap and let it rest for 30 minutes.
- Trim the parchment paper if needed, leaving enough around the dough to help you lift it safely.
Bake and Cool the Bread
- Carefully remove the hot Dutch oven and take off the lid. Use the parchment paper to lower the dough into the pot. Replace the lid and return the Dutch oven to the oven.
- Bake the bread covered for 30 minutes. Carefully remove the lid.
- Continue baking uncovered for 10–15 minutes, or until the crust is deeply golden. The bread should sound hollow when tapped and register approximately 200–210°F in the center.
- Carefully lift the bread out of the Dutch oven and transfer it to a wire rack. Let it cool for at least 1 hour before slicing. The center continues to set as the bread cools, so resist the urge to cut into it immediately—even though your kitchen now smells like a bakery.
Notes
A Note About Rising and Baking Times
- All rising and baking times are approximate because kitchen temperature, humidity, Dutch oven material, and individual ovens can affect the bread.
- In a warm, humid climate like Florida, the dough may rise faster and could be ready in approximately 6–8 hours.
- In a cooler kitchen, it may need 12–18 hours.
- Watch the dough instead of relying only on the clock.
- It is ready when it has expanded, looks bubbly, and is beginning to flatten on top. If it rises too long, it may lose structure and become difficult to shape.
- The total time listed in the recipe card is based on an 8-hour rise. Your actual time may be shorter or longer depending on the conditions in your kitchen.
Nutrition
Disclaimer: All nutrition values are per serving and approximate. They will vary depending on products and quantities used.